
Rucking boils down to one simple idea: walking with a loaded backpack makes your body work harder than an ordinary stroll does. Sound too good to be true? Partly, yes. The CDC says U.S. adults need at least 150 minutes of moderate activity a week, plus muscle-strengthening work on at least 2 days. A ruck can help you check those boxes, and researchers have measured how much extra energy the load demands. But it is not a magic shortcut, and you shouldn’t treat it like one.
Now the hype. Plenty of sellers promise stronger bones from a weighted vest, and the evidence doesn’t back that up. A 12-month trial of 150 older adults with obesity found that daily vest use did not prevent hip bone loss during weight loss. So when a sales page makes big promises, ask what the studies actually tested. Usually, the answer is much smaller than the pitch.
Key Takeaways
- Rucking means walking with a loaded backpack, and that extra weight makes your legs, hips, back, and lungs work harder than an ordinary stroll, but rucking is not a magic shortcut to better health.
- Weighted vests are not proven bone savers, since a 12-month trial of 150 older adults with obesity found that daily vest use did not prevent hip bone loss during weight loss.
- Beginner rucking should start at 5% to 10% of body weight on short, flat walks, and rucking newcomers should change only one thing each week: load, distance, or speed.
- Rucking can count toward the CDC’s 150 minutes of moderate activity a week, but adults still need muscle-strengthening work on at least 2 days a week, which a loaded walk alone won’t cover.
- Anyone with a heart, joint, back, or bone condition, anyone who is pregnant, or anyone who hasn’t exercised in a long time should get medical clearance before putting a pack on.
What Is Rucking, Anyway?
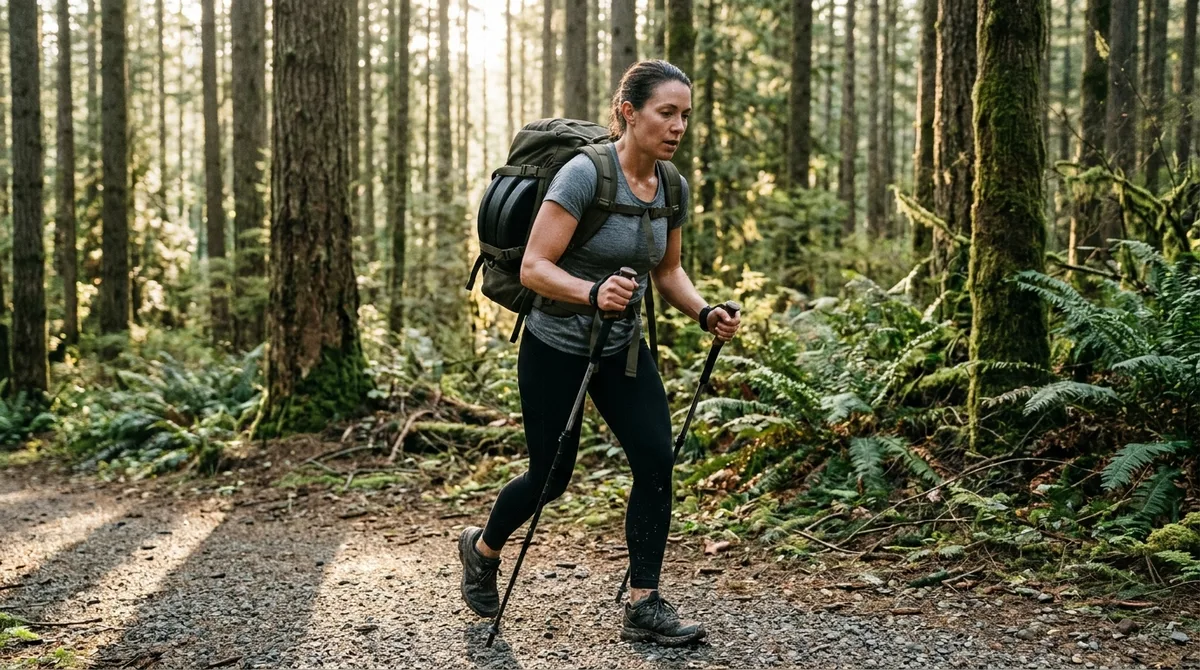
Rucking is walking or marching with a loaded backpack on your back. That’s the whole idea. No special moves, no fancy gear required, just you, a pack, and a path.
The difference from an ordinary walk is the load. Carrying weight forces your legs, hips, back, and lungs to work harder for the same distance. Researchers have measured this. In a 2022 study of 12 healthy people, carrying a 23.4 kg load high on the back instead of low cut the net metabolic rate by 4.3%, so where you carry the weight changes how hard you work. A [2024 study](https://pubmed.ncbi.nlm.nih.gov/38291646/) tested 20 active adults with vest loads from zero up to 66% of body mass and built a model that predicted their energy use.
Rucking sits in the middle. A casual stroll has no load and no real push. A gym session gives you sets, reps, and rest breaks. Rucking is steady, continuous effort. It’s heavier than a walk but without the structure of a workout plan.
Now the noise. Rucking is not a magic shortcut to better health. The U.S. Army’s ruck-march standard, which requires carrying a 35-pound pack for 12 miles in under 3 hours, is a military test for soldiers. It is not a goal for your first month. U.S. guidelines say adults need 150 minutes of moderate activity a week. Rucking can help with that. But you still need muscle-strengthening work on at least 2 days, and a backpack alone won’t cover it.
Are the Rucking Benefits Real?
Some rucking benefits are real, and some are still guesswork. The solid part is energy cost. Carrying a load makes your body spend more energy on the same walk, and researchers can now estimate that demand across different weights and speeds. But measuring energy cost is not the same as proving health outcomes. A walk that burns more energy tells you the workout is harder. It does not prove your heart, blood pressure, or joints will get better as a result.
Bones are where the sales pitches get loud and the evidence goes quiet. The 12-month trial of older adults with obesity tested the exact claim many sellers make. Daily weighted-vest use did not prevent hip bone loss during weight loss. So if a product promises stronger bones from a backpack, the research you can find does not back it up.
Belly fat is a different story, and it’s an easy promise to make. Loaded walking burns energy, but nothing about a pack tells your body where to lose fat. Any claim that a ruck melts your midsection is hype. Calories burned on a walk add up, but a pack does not target your belly.
Here’s the good news. Because rucking is still walking, it’s gentler on the body than running for many people. Your feet still hit the ground, but you skip the hard, repeated jolts of a run. If your knees or hips complain on pavement, a slow, loaded walk on softer ground may feel easier on them. Gentler is not the same as risk-free, though, so pay attention to how your joints feel the next day.
The extra load also works your legs, hips, and back. You’ll feel it most in your calves, glutes, and core, especially on hills. How much that builds strength depends on two things: how heavy the pack is and how often you go. A light pack on one short walk a week is a nudge. A heavier pack on several walks a week is a bigger push. Neither one is a guarantee, so think of the load as a dial you turn slowly, not a switch that flips your body overnight.
Finally, rucking is a useful addition, not a replacement for strength training. U.S. guidelines call for muscle-strengthening activity on at least 2 days a week, and a pack-walk doesn’t cover that by itself. Use your rucks for the moderate activity, then add two short strength sessions. Push-ups, squats, rows, and lunges are simple, cheap, and effective. Pair them with your walks, and you’ll get far more out of the pack than the marketing ever promised.
Backpack, Rucksack or Weighted Vest?
There’s no single winner. A regular backpack works fine for starting out, a purpose-built rucksack or weighted vest carries load more comfortably, and loose plates are the cheapest option but the easiest to get wrong.
Start with what you already own. Grab a daypack, fill it with books or water bottles, and walk. Nobody needs a fancy pack to find out whether rucking is for them, and a plain backpack lets you test the idea for almost nothing.
Once you’re hooked, purpose-built rucksacks are designed for the job. General market prices for purpose-built packs run roughly from about $195 to $265. For that money, you get padded hip belts, shoulder straps that spread the load, and a frame that holds weight close to your back.
Weighted vests take a different approach. A vest spreads weight across your chest and torso, while a pack keeps most of the weight on your back. Vests can feel more balanced for some people, but they can also feel hot and restrictive on a long walk. Try both if you can, and pay attention to which one your body prefers.
Where you carry the load matters too. A 2022 Ergonomics study of 12 healthy people found that carrying a 23.4 kg load high on the back instead of low cut the net metabolic rate by 4.3%. At 13.8 kg, position made no difference. So for light packs, placement barely matters. For heavier loads, keep the weight high and snug against your upper back.
Add-on plates are the budget route, and they often start near $40 to $60. They’re cheap, but they’re also the most likely to shift, clank, and dig into your spine with every step. If you go this way, use a pack with pockets or inserts that hold the plates in place.
So what matters most? Four things:
– Fit: The hip belt should sit on your hips, not your waist, and the pack should not hang far below your shoulders. – Stability: The load should stay put when you walk, with no side-to-side swing. – Shoulder comfort: Straps should not dig in, and your shoulders should not ache after a short walk. – Security: Nothing should rattle around inside.
Test your gear on a short loop before you commit to a longer route. Check your shoulders for red marks afterward. If you see them, adjust the straps or change the gear.
How Heavy Should Your First Ruck Be?
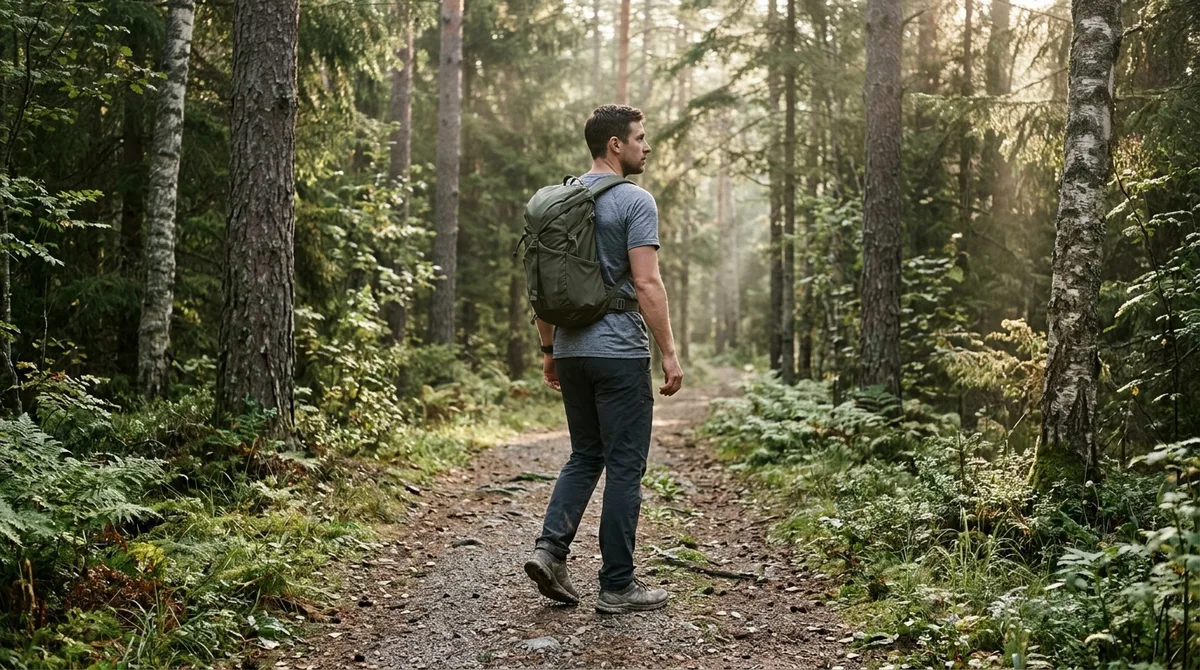
Start at 5% to 10% of your body weight. That’s the range Axios reported experts suggesting for beginners, who should walk short distances with a light load and add weight and time slowly. It’s a sensible starting point, not a law carved in stone.
Do the math before you pack anything. A 180-pound person would start somewhere around 9 to 18 pounds. If you’re new to walking with weight, or you haven’t moved much lately, aim for the bottom of that range.
Why start light? Because starting too heavy is one of the most common beginner mistakes. People load a pack like they’re headed to boot camp, then wake up sore, cranky, and quitting by the second week. Rucking should feel like a real push, not a punishment.
The military benchmark is where many newcomers get lost. The U.S. Army Infantry describes the Expert Infantry Badge standard as carrying a 35-pound ruck for 12 miles in under 3 hours. That is a military test, not a recreational goal. You don’t need to prove anything to a drill sergeant, so don’t chase their numbers.
Weight isn’t the only thing to watch. A pack that feels “manageable” on paper can still wreck your day. Pay attention to these instead:
– Fatigue: Are you tired at the end of the walk, or wiped out for the rest of the day? – Posture: Are you hunching forward or leaning hard to one side to keep balance? – Pain: Sharp pain in your back, knees, hips, or shoulders is a stop sign, not a badge of honor.
If your form falls apart before the walk ends, the pack is too heavy. Take out a few pounds, shorten the route, and try again. Nobody gets points for suffering through a bad walk.
Keep the plan simple. Pick one pack, one short loop, and one weight. Move up only when the last walk felt steady and your body recovered well the next morning.
Pace and Progression: Building Up Slowly
Slow wins here, and the reason is simple: the fastest way to quit rucking is to do too much too soon. The U.S. Army’s injury-prevention guidance emphasizes gradual increases in load and distance. Keep in mind that those pacing rules were built for military units training groups of soldiers, not for a civilian walking after work. Borrow the principle, not the drill schedule.
Start at a conversational pace. If you can speak in full sentences for the whole walk, you’re in the right zone. If you’re gasping, slow down. Speed is the last thing to push, not the first.
Here’s the rule that keeps you honest: change only one variable at a time. Pick load, distance, or speed, and change just one of them each week. Change two at once and you’ll never know which change caused the sore knee.
Use this sequence as your guide:
- Walk a short, flat loop with a light pack, around 5% of your body weight, at a pace where you can still chat.
- Repeat that same walk for a week or two until it feels boring.
- Add a little distance to the same loop, keeping the load and pace the same.
- Once the longer walks feel steady, add a small amount of weight and keep the route unchanged.
- Check your shoulders, hips, and knees the next morning before you change anything else.
Rest days are not wasted days. Your muscles and joints adapt between sessions, not during the walk itself, so they need time to recover. Take at least one full day off between rucks. If your calves or shoulders still ache from the last walk, skip the pack entirely and try again when the soreness fades.
Who Should Skip Rucking or Ask a Doctor First?
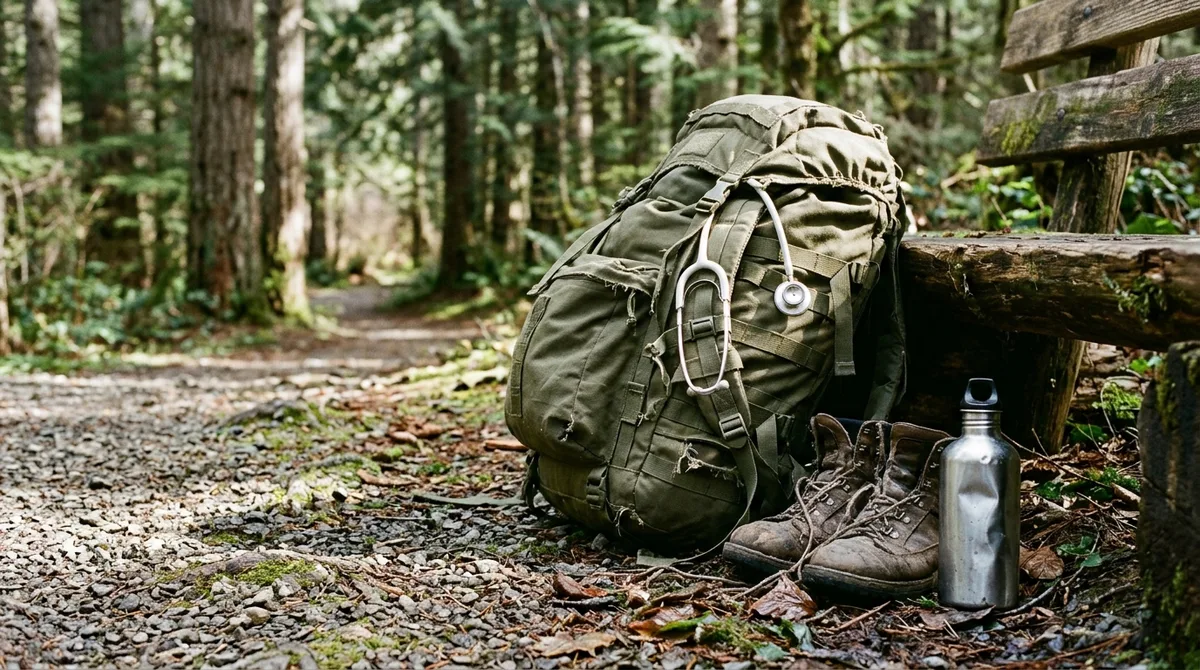
If you have a heart, joint, back, or bone condition, are pregnant, or haven’t exercised in a long time, talk to a doctor before you put a pack on. A short appointment costs far less than a month on the couch with a bad knee.
Get medical clearance first if any of these apply to you:
- Heart disease, high blood pressure, or any heart symptoms during exercise
- Arthritis or ongoing pain in your knees, hips, or ankles
- Chronic back pain or a history of disc problems
- Osteoporosis or another bone condition
- Pregnancy
- No regular exercise for months or years
Even healthy walkers can get hurt, and the usual cause is too much load too soon. A pack that is too heavy pulls you backward, so you lean forward to compensate, and that strains your lower back. Straps that sit too low or dig into the top of your shoulders leave you with aching, numb shoulders. Your knees and feet take the repeated pounding, and downhill stretches with extra weight hit them hardest. Shoes that don’t fit the load can add arch pain and blisters to the mix.
Your body will usually warn you before a real injury sets in. Learn to spot these signs:
– Sharp pain in your back, joints, or feet means stop walking now. – Numbness or tingling in your arms or legs can mean a nerve is getting squeezed. Get it checked. – Unusual swelling, especially in a calf or around a joint, deserves a doctor’s look, not a walk-it-off attitude. – Pain that changes your gait, like limping or favoring one leg, tells you something is wrong with how you move.
Rest is part of the plan, too. If your joints feel worse each morning for several days in a row, cut the load before you cut the rest. Plenty of people treat soreness like proof they’re getting stronger, but a body that never gets a break stops improving and starts breaking down.
Finally, watch your form. If your back rounds, your head drops, or you start listing to one side, end the walk early. Take the pack off, walk home without it, and try again next week with less weight.
Your First Week With a Loaded Pack
Week one is about learning how your body reacts, not chasing a number. Plan two or three short sessions on flat ground with a light pack, around 5% of your body weight. Keep each walk short enough that you finish wanting another one.
Track four things for every walk:
– Pack weight: the total pounds you carried – Distance: the miles or kilometers you covered – Pace: your average minutes per mile or kilometer – Next-day feeling: fine, sore, or wrecked
The next-day check matters most. If your shoulders, knees, and lower back feel fine the morning after, add a little time or a few pounds before your next session. If something aches for more than a day, stay where you are or step back. Change only one thing each week, never both.
The verdict: Rucking is worth trying if you want a low-cost, low-impact way to add effort to walks you already take. A backpack and a flat loop are all you need. But it is no miracle fix. It won’t replace strength work, and it won’t protect your bones on its own.
Day One: Your First Walk
Your first move takes five minutes. Step on a bathroom scale, write down your weight, and multiply it by 0.05. At 160 pounds, that’s 8 pounds. Fill a daypack with books or water bottles until the scale says you’re close.
Tomorrow, pick a flat loop you can finish in 20 to 30 minutes. A park path or a few blocks of sidewalk will do. Walk it at a pace where you can still hold a conversation, then log your pack weight, distance, pace, and how you feel the next morning.
Hold off on shopping. A purpose-built rucksack, which typically runs roughly $195 to $265, is a lot of money to spend before you know the walk suits you. Wait until you’ve finished at least three walks you’d happily repeat.
Before your second walk, reread the four fit checks in this article and check your shoulders for red marks after the first one. If nothing aches, add a small amount of weight or a few minutes. If something hurts for more than a day, go back to the lighter load.
Then put your next two walks on the calendar, with at least one rest day between them. Your body will tell you what it can handle, as long as you give it a chance to speak.