
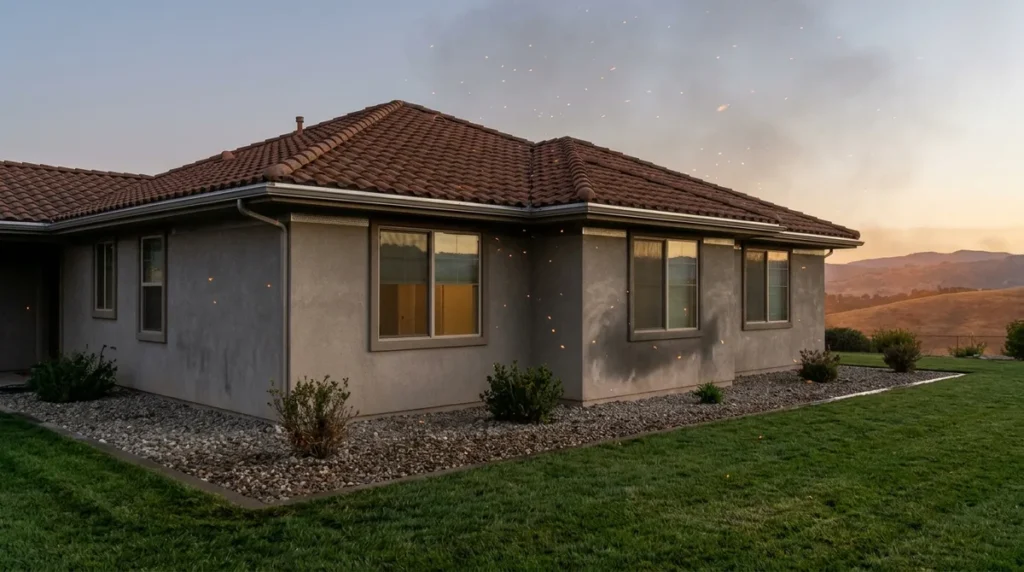
Wildfire home hardening means making your house harder to ignite with fire-resistant materials, smarter construction details, and regular upkeep. CAL FIRE defines it as protecting a building from direct flame contact, radiant heat, and embers. Forget the movie image of a wall of flame rolling down the hill. The sneakiest attacker is the burning debris that blows ahead of the fire and sneaks through one tiny gap.
Your house is not a fortress. It’s a pile of weak spots: vents, gutter debris, roof edges, and wooden fences attached to the siding. Federal researchers at NIST found that embers ignited a majority of structures in past wildland-urban interface fires, and those embers can land miles ahead of the fire front. In California, state law requires up to 100 feet of defensible space, or out to the property line if that’s closer. Upgrades range from about $2,000 for minimal work to more than $100,000 for the top-tier package, so you don’t have to spend big to start. Let’s cut through the noise and find the fixes that actually work.
Key Takeaways
- Walk your house with a flashlight and fix the gaps embers exploit, like torn vent screens, clogged gutters, and openings under the eaves, because most of those fixes don’t require a contractor.
- Clear dead plants, dry leaves, and firewood from the 5-foot ring around your house, since a UC Berkeley analysis found that 37% of homes with a vegetation-free buffer survived, compared with 20% of homes without one.
- Start with cheap upkeep and a targeted retrofit that Headwaters Economics estimated at $10,000 to $15,000, and save the six-figure top-tier package for the worst fire zones or owners who want the highest level of protection.
- Pair your home hardening with defensible space, because a 2025 UC Berkeley-led simulation study found that combining the two could double the number of structures that survived.
- Call your insurer and get the answers in writing before you count on a discount, since hardening does not automatically lower your premium and every insurer sets its own rules.
Why Embers, Not Flames, Are the Real Threat
Picture a wildfire and you probably see a wall of flame. The real house killer is quieter. Burning bits of bark, leaves, and pine needles get lofted by the wind, fly ahead of the fire, and land on roofs, decks, and gutters. Then they wait for something dry enough to catch.
Hardening is a team effort, not one product. It combines building features like ember-resistant vents and noncombustible roofing, routine maintenance like clearing debris, and managed vegetation around the house. Skip one piece and the others lose their punch. No single weekend of raking will save you.
Why do embers win so often? Because most houses are full of gaps. An ember doesn’t need to smash a window. It only needs a vent with a torn screen, a gap under the eaves, or a crack in the siding or a window frame. Once it slips into one of those openings, it finds dry debris or insulation and starts a fire from the inside out.
Vegetation matters more than most people think. A UC Berkeley analysis of homes exposed to five California wildfires from 2017 through 2020 found that 37% of homes with a vegetation-free buffer survived, compared with 20% of homes without one. That gap is not a rounding error.
So here’s the takeaway you can actually use. Look at your house the way an ember would. Where does the air get in? Where does dry stuff pile up? Those spots are your starting list, and most of them can be fixed without a contractor or a big check.
What Is Defensible Space and How Many Feet Do You Need?
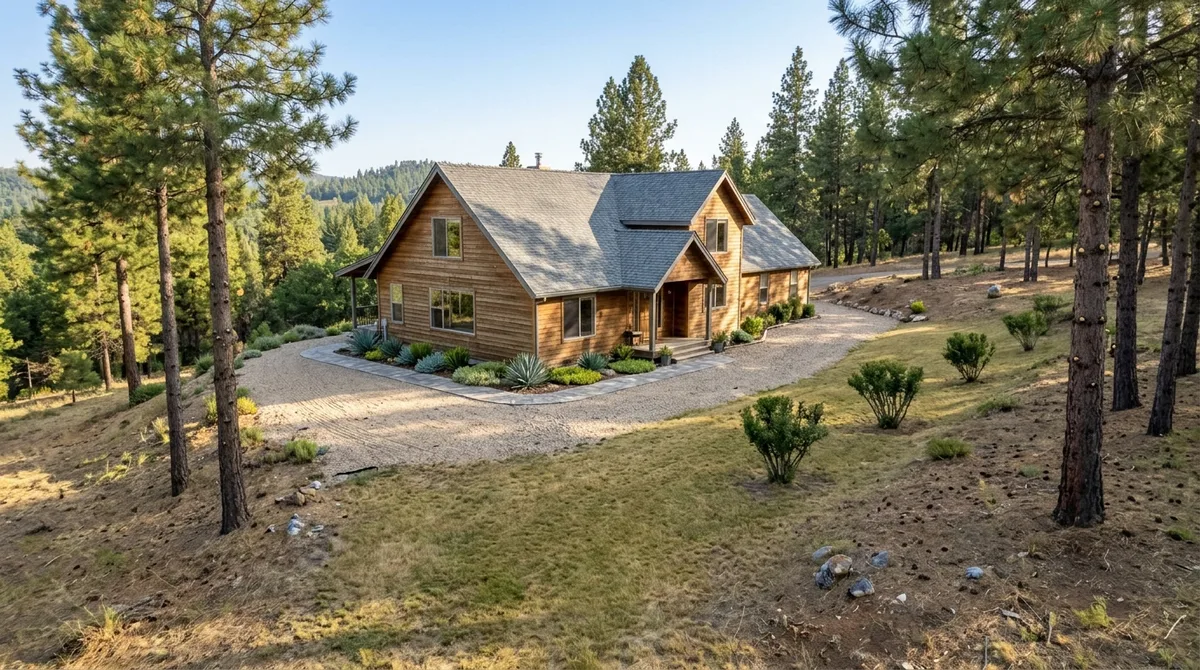
Defensible space is the cleared, managed land around your house that keeps fire and embers away from the walls. In California, Public Resources Code Section 4291 requires up to 100 feet of it, or out to your property line if that’s closer.
Think of it as rings, each with a different job. The ring closest to your walls is Zone 0, and it matters most for embers. The state requires an ember-resistant zone within 5 feet of the house. Here’s the catch: as of November 2026, the Board of Forestry’s Zone 0 rules are still under final review, so the state hasn’t published the final version. Before you rip out a single shrub, check your city and county rules.
Berkeley isn’t waiting. Its EMBER ordinance took effect in January 2026 and requires a 5-foot vegetation-free buffer around houses. Noncompliance can cost up to $500 per day in fines. If you live there, that buffer isn’t optional.
Studies back up the close-in focus. A UC Berkeley-led study found that removing vegetation within 5 feet alone could cut structure losses by 17 percent.
Past the first ring, the job changes. For the zone from 30 to 100 feet, annual grass should be cut or mowed to a maximum height of 4 inches. Tall, dry grass is basically kindling, and a short lawn gives fire very little to chew on.
Inside the 5-foot ring, focus on three jobs you can finish this month:
- Trim tree limbs so they don’t hang over or touch the roof.
- Pull dead plants and dry leaves from beds against the siding.
- Move firewood piles away from the house, not up against the wall.
Start with what’s closest and driest. A dead shrub pressed against your siding is a bigger problem than a healthy oak farther out in the yard.
Where Do Homes Fail First in a Wildfire?
Homes usually fail at the small openings and loose edges that let embers in. The usual suspects are roofs, vents, eaves, windows, decks, and wooden fences attached to the house. Here’s how to tackle each one.
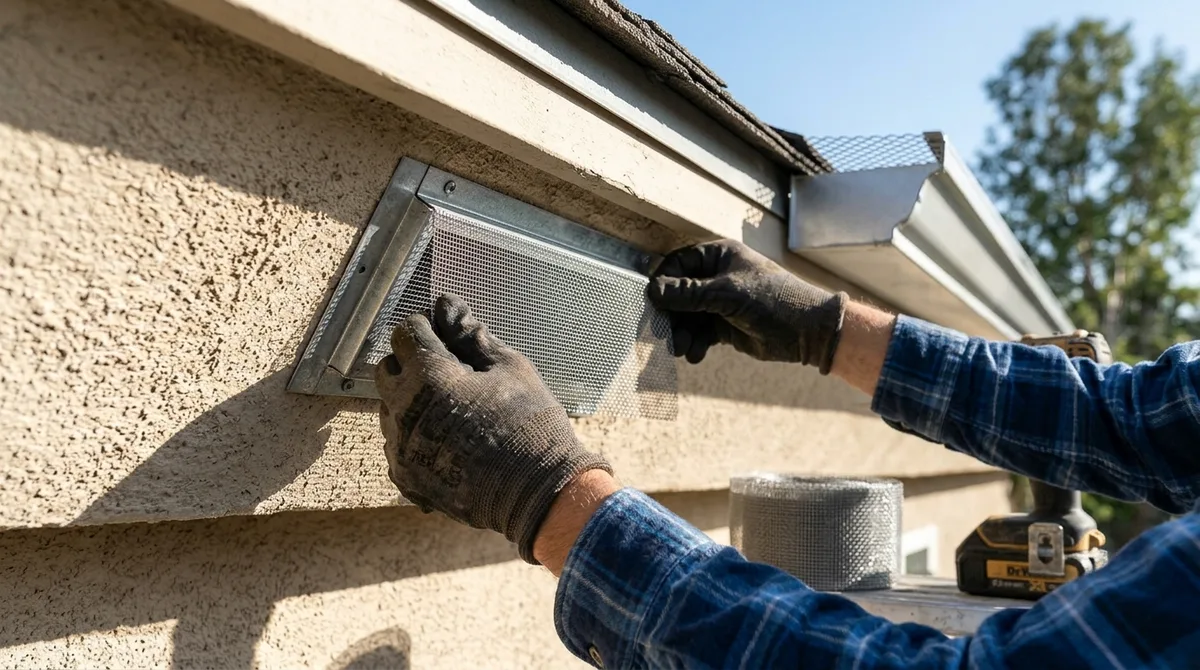
Start with vents. Standard attic and crawl-space vents have wide openings and flimsy screens, and one ember is all it takes. Ember-resistant vents and fine metal mesh block embers before they reach the dry insulation inside. Check your screens every season, because a torn one is an open door.
Gutters are the next trap. Leaves and pine needles pile up at the roofline, dry out, and wait. Metal gutter guards keep most of that debris out, but they don’t replace cleaning. Clear gutters and roof valleys on a schedule, and always after windy weeks.
- Vents: swap in ember-resistant vents and fine mesh.
- Gutters: install metal guards and clean them often.
- Eaves and roof edges: close gaps where embers can slip underneath.
- Windows: choose tempered or multi-pane glass, and fix cracked frames.
- Decks: sweep out debris and move cushions, firewood, and dry plants away.
- Fences: keep wooden sections from touching the wall.
Roofs, siding, and windows matter most where embers can actually reach them. The 2025 California Wildland-Urban-Interface Code, which applies to new buildings in specified fire-hazard areas, covers roofs, eaves, gutters, exterior walls, decks, glazing, doors, vents, and accessory structures. Start with the spots that face dry brush or a tree line.
Decks are easy to overlook. Leaves and needles collect between the boards and under the planks, and that stuff catches fast. Headwaters Economics lists clearing roof and gutter debris and removing flammable materials from decks among the most important maintenance tasks, and those jobs can cost you little or nothing.
Attached fences are the sneaky one. A wooden fence that runs straight into your siding can carry fire right up to the wall. Leave a gap between the fence and the house, or replace the section nearest the structure with metal or masonry.
Want a benchmark? The IBHS Wildfire Prepared Home standard has an Essential level that focuses on wind-blown embers, which is exactly the threat you’re fighting.
Which Fixes Cost Little and Which Cost a Fortune?
The cheapest fixes come first, targeted retrofits come second, and full upgrades cost the most by a mile. Start with upkeep, add a few targeted retrofits if you know where your house is weak, and only go big if your risk and budget truly call for it.
Here’s the price spread. A 2024 Headwaters Economics report modeled a 2,000-square-foot California home. The highest-protection package in that model ran past $100,000. A far smaller job, a targeted set of ember-resistant vents, flashing, gutter work, and gravel mulch, was estimated at $10,000 to $15,000. That’s real money, but it’s a fraction of the full package.
Those three tiers break down like this:
- Upkeep: Little or nothing. Your costs are time, a sturdy ladder, and a bucket.
- Targeted retrofit: Roughly $10,000 to $15,000 for the vents, flashing, gutters, and mulch that close the most common ember entry points.
- Full upgrade: Six figures for the top-protection package.
Why does the middle tier earn its keep? Because it hits the gaps embers actually use. Ember-resistant vents and tight flashing close the openings, and gravel mulch replaces the dry bark that would otherwise sit against the foundation. You get the most protection per dollar without tearing the house apart.
Don’t skip the cheap stuff just because it looks too simple. A ladder, a few hours on a Saturday, and a steady routine beat an expensive upgrade you never maintain. A pricey vent is useless if its screen is torn and nobody checks it.
Think of the full upgrade as the last step, not the first. Those big packages make sense for homes in the worst fire zones or for owners who want the highest level of protection available. For most people, the smart move is to finish the free and cheap jobs, then fix the one or two weak spots the first pass reveals.
Here’s the payoff for doing the combination right. A UC Berkeley-led study published in 2025 ran simulations based on five major California fires. It found that combining home hardening with defensible space could double the number of structures that survived. Cheap habits and smart retrofits, working together, are where the real gains come from.
Can You DIY Wildfire Hardening or Do You Need a Contractor?
Most of the work you can handle yourself, but roofs, siding, windows, and anything that changes the structure belong with a licensed pro. Start with a quick self-check, then sort your list into jobs you can finish with basic tools and jobs that need permits and trained hands.
Before you buy anything, take CAL FIRE’s home self-assessment survey. It takes less than 30 minutes, and it shows you where your house is most exposed. Treat it as your starting map.
DIY-friendly jobs need a ladder, gloves, a rake, and a bit of patience. Clearing debris from the roof, gutters, and deck boards is the easiest win. Trimming vegetation inside the 5-foot ring is also yours to handle. Cleaning gutters and installing fine metal vent mesh are weekend projects, too. Gravel mulch works well right against the foundation, where bark or wood chips would otherwise sit, but confirm your local rules for what counts as the right zone.
Jobs for a pro include roof replacement, re-siding, and window swaps. These change the structure itself, and they often need a permit and inspections. If a task touches framing, flashing tied to the structure, or any permitted work, hand it off.
Check permits before you touch the roof, siding, or deck. Rules vary by hazard zone and jurisdiction, so call your city or county building department first. For new buildings in specified areas, the 2025 California Wildland-Urban-Interface Code requires vegetation-management compliance before final building-permit approval.
Retrofitting an older home usually means working around what is already there, so go after the worst openings first. Here’s a practical order:
- Walk the perimeter at dusk with a flashlight and mark every vent, gap, and crack you can see.
- Replace torn vent screens with fine metal mesh.
- Clean the gutters and add guards where debris keeps collecting.
- Seal gaps under the eaves and around the foundation.
- Book a licensed pro for any roof, siding, window, or deck work that needs a permit.
Will Hardening Lower Your Insurance Bill?
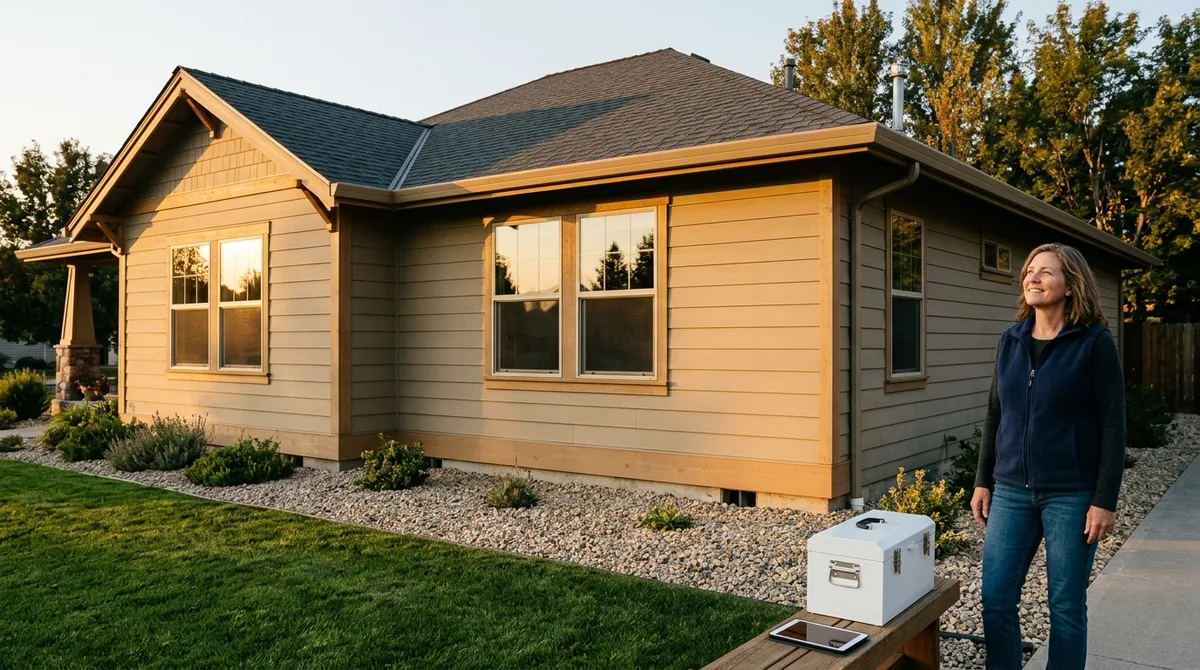
Not automatically. Hardening can make your home a better insurance risk, but no guaranteed discount comes with it, and every insurer sets its own rules.
The Insurance Institute for Business & Home Safety (IBHS) runs a Wildfire Prepared Home program built on its 2025 Wildfire Prepared Home Technical Standard, which became effective June 1, 2026. The program has two levels. The Essential level focuses on wind-blown embers, the threat that ignites most homes. The Enhanced level adds protection against flames and radiant heat, so it goes further than the Essential level.
A Wildfire Prepared Home designation lasts three years, and it isn’t a one-time badge. You need an annual review that verifies your landscaping maintenance is still in place, as IBHS explains in its standard announcement. Clear your vegetation in spring and forget about it, and the designation slips away from you.
Before you assume anything, call your insurer and ask three things. What documentation does it accept? Does it offer any credits for hardening? What exactly must you show to qualify? Get the answers in writing. If an agent quotes a “typical” discount over the phone, treat it as a maybe, not a promise.
Keep receipts and photos of every upgrade and maintenance job. Save invoices for vent mesh, gutter guards, flashing, and gravel mulch. Date your photos, and shoot the same spots from the same angles each season, so the changes are obvious. If a renewal or claim ever comes up, that folder is your proof, and it beats memory every time.
Do You Need to Meet Hardening Rules When Selling a Home?
It depends on where your house sits and whether you’re building something new. The 2025 California Wildland-Urban-Interface Code applies to new buildings in specified fire-hazard and wildland-interface areas. If you’re putting up a new structure in one of those zones, vegetation-management compliance must be done before the building department gives final approval on your permit.
Local rules can go further than state law. Berkeley’s EMBER ordinance is the example to watch. It sets its own requirements for the ground around a house, so a city rule may be the one that actually applies to your property.
Rules for existing homes vary by hazard zone and local jurisdiction. A house that passes in one county can face different vegetation or ember standards a few miles away. This is practical guidance, not legal advice, so get the exact requirements from the people who enforce them.
If you’re selling, make three calls first:
– Your local fire authority: Ask which hazard zone your parcel is in and what defensible space rules apply. – Your city or county building department: Ask whether any past work or open permits need inspection or sign-off. – Your listing agent: Ask what buyers’ inspectors in your area usually check for wildfire risk.
Buyers and their inspectors may ask about vents, gutters, and vegetation. Keep your receipts and dated photos ready so you can show what you’ve already fixed.
Your First Weekend Hardening Checklist
Here’s your move for this weekend. Pick a Saturday morning and walk the 5-foot ring around your house with gloves and a contractor bag. Pull out anything dead, dry, or touching the siding, and toss it before lunch.
Saturday afternoon belongs to the vents and gutters. Grab a flashlight, check every attic and crawl-space screen for tears, and mark the bad ones with painter’s tape. That way you can order fine metal mesh on Monday instead of guessing. Then climb the ladder and scoop out the packed leaves and pine needles by hand.
Sunday is for the fence and the deck. Look for any wooden fence section that runs into the wall, and note how far you’d need to pull it back. Sweep the deck boards, then move cushions, firewood, and potted plants to the far side of the yard.
Finish with one phone call. If you live in Berkeley, pull up the EMBER ordinance and confirm your 5-foot buffer is clear. Everywhere else, call your city or county building department. Ask which hazard zone your parcel sits in and whether Zone 0 rules have been finalized where you live.
Take dated photos of each spot before you touch it, and keep every receipt. Next week, you’ll know exactly which weak spot to tackle first.
Frequently Asked Questions
1. If I rent my home, what can I do about wildfire hardening without changing the roof or vents?
Start with the parts of the yard you control: the 5-foot ring around the house and anything you bring onto the property. Clear dead plants and dry leaves from beds against the siding, move firewood away from the wall, and sweep debris off any deck. Put requests for permanent fixes like torn vent screens or clogged gutters in writing to your landlord.
2. Can gravel mulch around my foundation trap embers, or does it actually help?
Gravel mulch helps because it doesn’t burn like the dry bark or wood chips it replaces against the foundation. Leaves and pine needles can still settle into the gaps, so rake them out regularly. Keep the gravel clean and check it after windy weeks, and you get the benefit without the trap.
3. How often should I clean gutters and check vents during fire season?
Clean gutters on a set schedule and again after any windy stretch, since wind loads them with leaves and needles. Check attic and crawl-space vent screens at least once every season, and replace any torn mesh right away. A quick walk around the house with a flashlight catches most problems before they become open doors for embers.
4. Where should I start clearing if my lot has steep slopes or lots of trees?
Start with the 5-foot ring around the house, because that’s where embers do the most damage and it’s the fastest zone to finish. On a steep lot, fire can climb uphill quickly, so pay extra attention to brush and trees on the slope below and beside the house. Trim limbs so they don’t reach the roof, and confirm your local rules before clearing the wider zones.
5. Do I need a permit to swap out vent screens?
Replacing torn vent screens with fine metal mesh is usually a weekend job you can handle yourself. Roof, siding, window, and deck work is where permits typically come in, so check with your city or county building department before touching those. If you’re unsure whether a vent change counts as permitted work, make that call first.