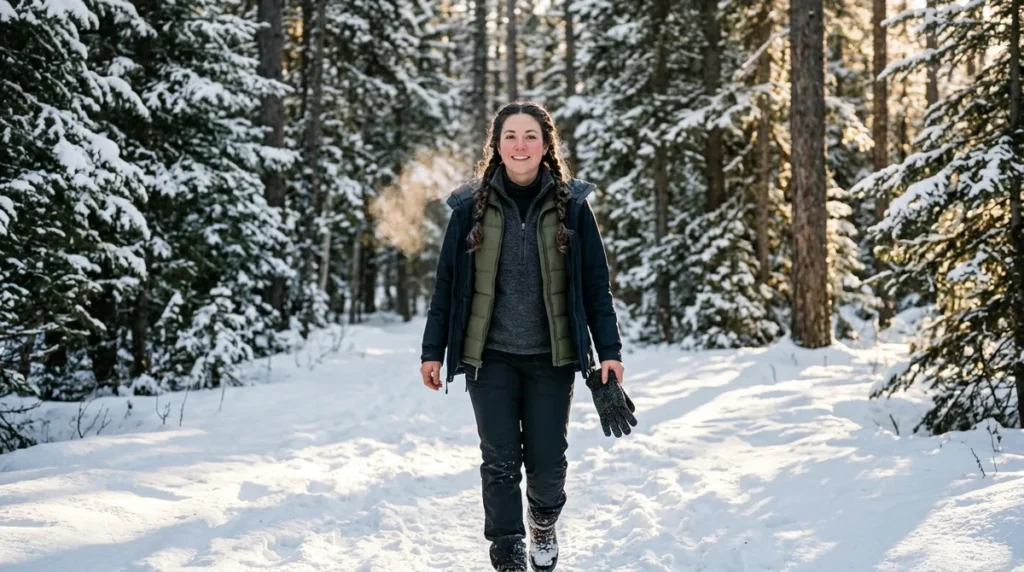
Cold weather layering is a three-part system: a moisture-wicking base layer against your skin, a breathable insulating middle layer, and a water-repellent, wind-blocking shell on the outside. The [National Park Service](https://www.nps.gov/teachers/classrooms/dressing-for-winter.htm) spells out those three roles, and the logic is simple. Each layer has one job. Together, they trap heat, pull sweat away from your body, and block the wind that steals warmth from exposed skin. Get the system right and you can stay comfortable on a frosty trail. Get it wrong and you end up soaked, shivering, or both.
Sounds like common sense? It is. But people still get it wrong every winter, and the stakes are real. The [Centers for Disease Control and Prevention](https://www.cdc.gov/mmwr/volumes/74/wr/pdfs/mm7406a6-H.pdf) counted 1,024 U.S. deaths tied to excessive cold or hypothermia in 2023, and January alone accounted for 19.9% of them. Cold doesn’t need a blizzard to turn dangerous. It just needs you to sweat through your shirt, stop moving, and assume your jacket will handle the rest. Smart layering means adjusting as conditions change instead of hoping one bulky coat does all the work.
Key Takeaways
- Build your cold weather outfit as a three-part system: a base layer that moves sweat off your skin, a breathable middle layer that holds in warmth, and a water-repellent, wind-blocking shell on the outside.
- Skip cotton for base layers, because cotton soaks up sweat and stays cold and clammy against your skin, so choose merino wool or synthetic fabric instead.
- Vent before you overheat by unzipping your shell, pushing up your sleeves, or taking off your hat as soon as you feel warm, since wet clothes lose their insulating power fast.
- Pack a sealed extra set of dry clothing in a waterproof bag, as the National Park Service recommends, so you have something warm to change into when everything else gets soaked.
What Is the 3-Layer Rule for Cold Weather?
The 3-layer rule means dressing in three jobs instead of relying on one heavy coat: a base layer that moves sweat off your skin, a middle layer that holds in warmth, and an outer shell that blocks wind and rain. The layers only work as a team, which is why buying three random jackets rarely keeps you warm.
The real trick is air. Insulation doesn’t make heat. It holds onto the heat your body produces by trapping tiny pockets of air. Two thin layers trap more air than one thick layer of the same total weight, because the air sits between the layers and stays put. A bulky coat traps air too, but it gives you no way to shed warmth when your body starts working.
That’s why the system holds up. A [1990 U.S. Geological Survey report](https://pubs.usgs.gov/publication/ofr89415_1990) describes multiple thin layers as a practical way to fine-tune insulation as temperature and activity levels change. Think about a single hike. Climbing a steep trail can have you sweating in minutes, while standing at a trailhead waiting for a friend to tie their boots can leave you cold surprisingly fast. Thin layers let you match the moment instead of guessing once at the car door.
Don’t treat the rule like a math test, either. It’s a starting framework, not a strict count. Some days you need just two layers, like a cool autumn morning when the sun comes up fast. Other days you need five, especially when wind rips across an exposed ridge and you’re moving slowly with a heavy pack. The number changes. The job of each layer doesn’t.
Here’s the practical part. Start your walk feeling a little chilly. Your body warms up quickly once you move, and if you’re comfortable at the trailhead, you’re probably already overdressed. Stop at the first steep section, peel off the middle layer, and let the base layer keep doing its job of moving moisture away from your skin.
Your shell is the wind gate. Zip it up when gusts pick up or when you stop for a snack, and open it when you start climbing. Venting a bit is often better than sweating through everything underneath, because wet clothes lose their insulating power fast.
What Is the Warmest Base Layer for Cold Weather?
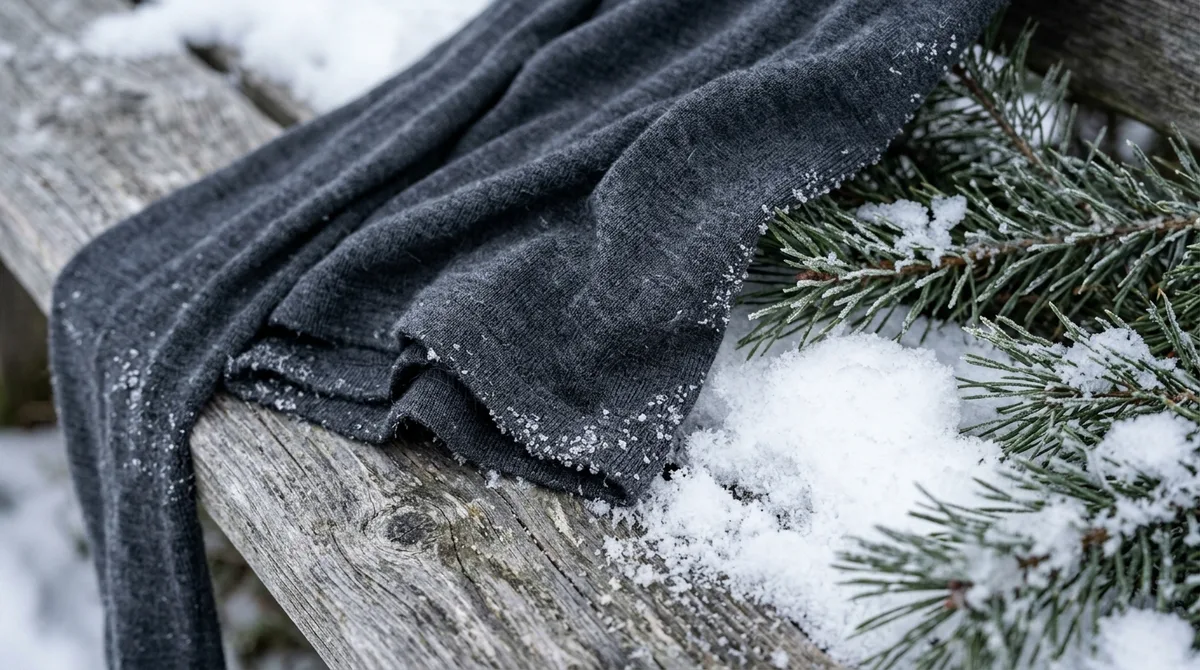
The warmest base layer is one made from merino wool or a synthetic fabric. Cotton is the one to leave in the drawer. The [National Park Service](https://www.nps.gov/articles/winterweather.htm) advises choosing wool or synthetic clothing over cotton because cotton absorbs moisture and won’t keep you warm once it’s wet.
Cotton is a sponge. It soaks up sweat and holds that sweat against your skin, where it pulls heat away from your body faster than cool air would. A cotton tee that feels fine in the parking lot can turn into a cold, clammy wrap partway up a climb. You sweat, the fabric stays wet, and your body loses the heat it worked hard to make.
Merino wool is the premium pick. It keeps insulating even when it’s damp, so a sweaty hike doesn’t turn it into dead weight. It also resists odor, which means a shirt can survive a three-day trip without smelling like a gym locker. The catch is the price. Merino costs more up front, and good merino is not cheap.
Synthetic base layers, usually polyester or nylon blends, are the workhorses. They dry fast, they’re easier on your wallet, and they handle hard, sweaty efforts well. The downside? After a long, grinding session, synthetic can feel clammy against your skin. Some models also hold onto odor sooner than wool does.
Price is where the sticker shock hits. Midweight men’s half-zip base layers typically run around $65 at major retailers, which shows how fast the cost adds up when you buy a few. Synthetic options often run cheaper, while premium merino can climb past that number. Compare the fabric content before you pay for a brand name.
Here’s where people get confused in the store. Base layer and thermals are often the same thing. Thermal underwear is a base layer, and most base layers are built to trap heat close to your skin. The label matters less than two things: fit and fabric. A base layer should sit snug without squeezing, because loose fabric traps less warmth and bunches up under your shell.
Read the tag, not the big word on the front. Skip anything that’s mostly cotton, even if the package shouts “thermal” in bold letters. A cotton thermal is still cotton, and it will still hold your sweat against your skin.
Mid-Layers: Fleece, Down, or Synthetic Insulation?
Fleece is the easy all-rounder. Down delivers the most warmth for its weight when it stays dry. Synthetic insulation keeps working when things get wet. Pick based on where you’ll be and how hard you’ll move, not on which label sounds the fanciest.
Fleece is the middle layer most people already own, and it’s breathable. That means heat and moisture can escape when you’re working hard, which matters on a steep climb where a puffy jacket can turn you into a sauna fast. Fleece also keeps some of its warmth when it’s damp, so it’s a solid pick for active use. The downside is bulk. It takes up room in your pack and can look more like a cozy sweater than serious gear, but it gets the job done.
Good news for your wallet: a women’s full-zip fleece has been priced around $45.50 on sale, down from $65. Mid-layers don’t have to cost a fortune.
Down is a different animal. When it’s dry, it gives you the best warmth for the weight, which makes it a favorite for light packing in dry, bitter cold. Compress it and it springs back. Its one big weakness is water. Once down gets soaked, the clusters collapse and most of its insulating power goes with them. Storage matters too. Don’t leave it crammed in a tight compression sack for months. Store it loosely in a breathable bag so the fill can bounce back.
Synthetic insulation is the practical middle ground. It keeps warmth better when damp, so a sweaty climb or a drizzly trail won’t leave you cold and stuck. It’s a bit heavier than down for the same warmth, and you’ll notice that on a long day with a loaded pack. Many people accept that trade because synthetic is easier to care for. It handles washing and drying with far less fuss than down, and it doesn’t lose much if you forget to air it out.
Here’s the quick comparison:
- Fleece: breathable, bulky, and forgiving when it gets a little damp.
- Down: the warmest for its weight when dry, but it fails when wet and needs careful storage.
- Synthetic insulation: holds warmth when damp, slightly heavier than down, and easier to look after.
Whichever you choose, fit is what makes the layer work. Your middle layer should be roomy enough to move in and to fit under your shell without bunching. If it’s tight, the air pockets it needs to trap heat disappear. Start with it on, and unzip or peel it off at the first steep section before you start sweating through everything.
How Do You Choose a Shell That Blocks Wind and Rain?
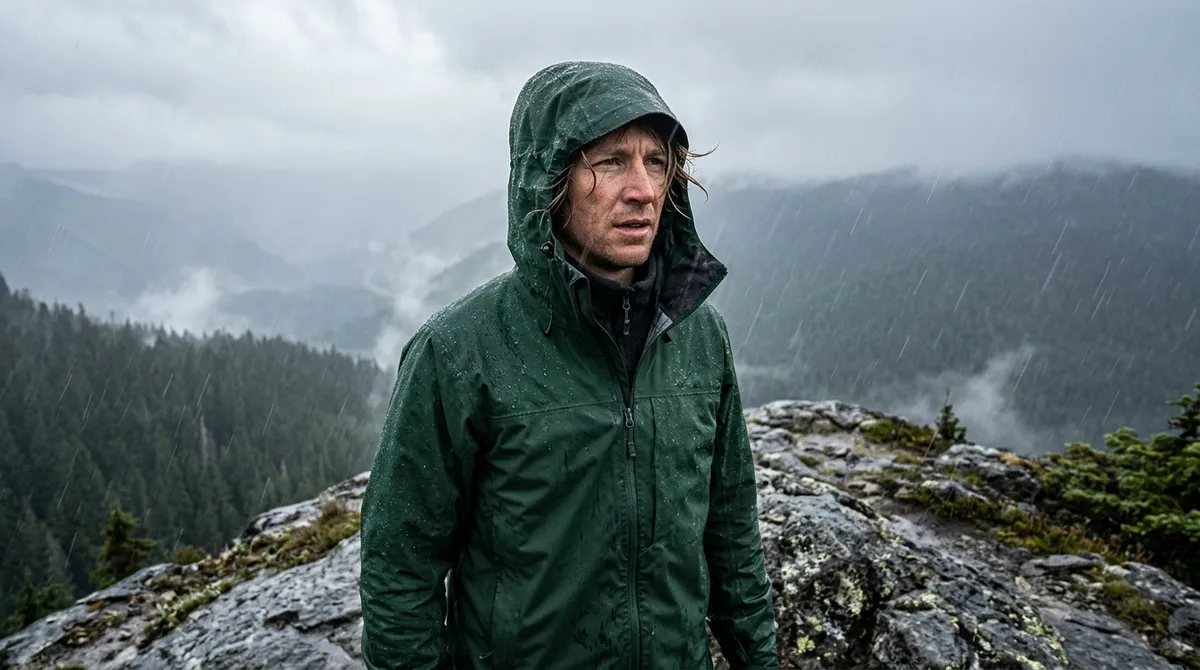
Match the jacket to the weather you actually face. Go waterproof for rain and wet snow, windproof for dry, biting cold, and softshell for active days with light moisture.
Wind is the sneaky one. The [National Weather Service’s cold weather watches and warnings page](https://www.weather.gov/safety/cold-ww) defines wind chill as the combined effect of air temperature and wind on heat loss from exposed skin. In plain terms, a calm morning and a gusty one at the same temperature feel like two different days. Wind strips warmth from your face, hands, and neck faster than still air ever could.
Waterproof shells are the heavy lifters for wet weather. They keep rain and wet snow off your body, which matters because wet skin loses heat quickly. Windproof shells are lighter and built for dry, windy cold, like a sunny ridge with no precipitation in sight. Softshells are the breathable pick. They stretch, move with you, and shed light drizzle or fine snow while letting heat escape during hard climbs.
Here’s the trap. Waterproof does not mean breathable. A cheap rain jacket can keep the weather out and your sweat in, so you end up soaked from the inside while you’re working hard. Your base layer can only move moisture away from your skin if the shell lets that vapor escape, and a plastic-feeling coat often doesn’t.
Price is where the marketing gets loud. A men’s rain jacket has been priced around $70, reduced from $100. That sounds like a fair deal on paper, but the real test is the spec sheet. Look for:
- Pit zips that open for quick venting when you heat up
- A hood that fits over a hat or helmet without blocking your peripheral vision
- Adjustable cuffs and hem that seal out wind
- A tall, zip-up collar that keeps gusts off your neck
Skip any jacket that skimps on these, even if the price looks tempting. A shell with no vents is a sauna you’ll regret by mid-climb.
Match the shell to your plan. If you’re hiking in drizzle or wet snow, grab a waterproof, breathable jacket. If you’re skiing in clear weather or walking a dry, exposed ridge, a windproof layer may be all you need. For active days when the sky is mixed and you’ll be sweating, a softshell often hits the sweet spot.
Why Do You Get Colder When You Add More Layers?
You get colder with more layers because your body sweats first, and wet fabric steals the warmth your clothes were supposed to hold. Sound backwards? It only feels that way if you think of layers as a fixed amount of warmth. They work more like a dial, and most people leave it cranked up.
Your body is a furnace that doesn’t know when to slow down. The moment you climb a hill, your muscles burn fuel and your body starts dumping heat through sweat. That sweat has to go somewhere. If your layers trap it against your skin, the fabric turns damp and stops insulating. Now you’re wearing a cold, wet wrap under your jacket, and the second you stop walking, that damp layer pulls heat out of you.
The National Park Service says you can add layers when you feel cold or remove them to prevent overheating. The trick is acting early. If you wait until you feel hot, you’re already sweating.
Venting is your first tool. Try these moves before the drips start:
- Unzip your shell or mid-layer at the chest to let heat escape.
- Open your cuffs and push your sleeves up to cool your wrists.
- Pull off your hat as soon as your head feels warm, since a lot of heat escapes from an uncovered head.
- Take off your mid-layer before you start sweating, not after your shirt is soaked.
Adjust before you stop, too. Start your hike feeling slightly chilly, because your body will warm up within minutes of walking. If you’re toasty at the trailhead, you’re overdressed, and the first steep switchback will leave you drenched. Then keep changing as your effort changes. Vent on the climb, zip back up at the top where the wind picks up, and add a layer before you sit down for lunch. Stopping is when you cool fastest, so zip up before you rest, not after you start shivering.
Indoor-outdoor layering matters just as much. You’ll walk into a heated café from a frozen parking lot and start sweating within minutes. Build your outfit so you can strip down to your base layer without a full wardrobe change. A zip-neck fleece over a base layer works well, with your shell packed where you can grab it fast. Skip the bulky sweater that needs a wrestling match to get over your head.
The National Park Service also recommends carrying a sealed extra set of dry clothing. Keep one in your pack for the drive home. A dry set is the easiest way to stop being cold once you’ve already sweated through everything you’re wearing.
How Do You Layer for Hiking and Snowshoeing?
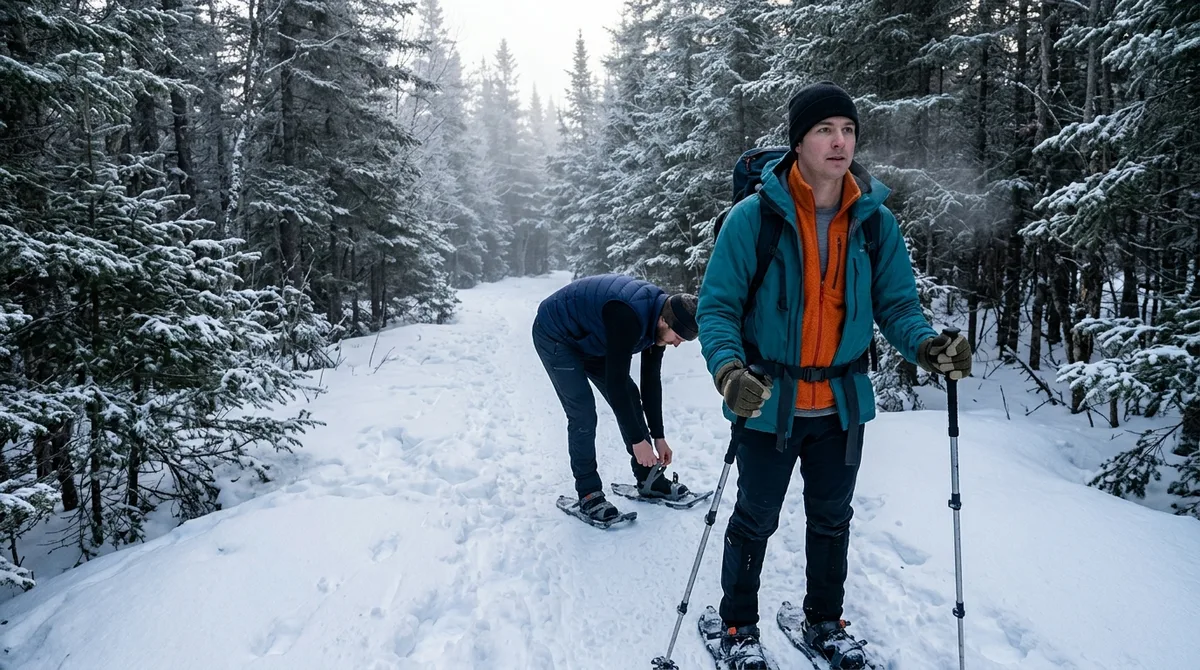
Start lighter than feels comfortable, vent before you overheat, and keep a sealed dry set ready for the moment everything else gets soaked.
Snowshoeing is not a casual winter stroll. Breaking trail through deep snow is hard aerobic work, and your body can flood you with heat in minutes. That’s why the “bundle up and hope” approach backfires. You can be sweating before you’ve gone far, and then the damp layers do the rest of the damage once you stop.
Socks are where a lot of winter trips fall apart. Pick wool or synthetic, the same rule that applies to your base layer, because cotton socks stay wet and cold against your feet. Thin liners wick moisture away from your skin, and a warmer pair over them adds insulation when the temperature drops. Wear the liner alone on milder days, and only add the outer pair when your toes start to feel the cold.
Footwear sizing is the detail most guides skip. Try boots on while wearing the thicker socks you plan to hike in, not the thin pair you wore to the store. Boots that are too tight squeeze your feet and restrict blood flow, which leaves your toes colder. That’s the exact opposite of what you’re paying for. Feet also swell over a long day, so leave enough room that your toes don’t press against the front.
The National Park Service recommends carrying a sealed extra set of dry clothing, and the sealed part matters. Put your dry set in a waterproof bag and keep it near the top of your pack or in a side pocket. Never bury it at the bottom under a soggy shell and a sweaty mid-layer. Give your wet gear its own bag so it can’t soak the dry set on the way back.
Here’s the order to follow on a snowshoe day:
- Pull on a thin base layer and a light mid-layer, and skip the shell unless the wind is already picking up.
- Put on your thin liner socks, then your warmer pair, and lace your boots over them.
- Strap on the snowshoes and walk for a few minutes before you decide whether you’re overdressed.
- Unzip your mid-layer or vent your shell as soon as the first steep climb starts to heat you up.
- Stop, add a layer, and zip up before you sit down for lunch, not after your skin turns cold.
- Swap damp socks for dry ones at your break, then store your sweaty gear in its own bag.
How Do You Keep Hands, Head and Feet From Freezing?
Mittens keep your fingers warmer than gloves in serious cold. Gloves win only when your hands need to do fine work. Fingers share heat when they sit together in one pocket, while each finger in a glove is wrapped on its own and loses warmth faster. Carry thin liner gloves for buckles and zippers, then pull mittens over them when the wind picks up.
Your head and neck lose significant heat, especially when wind hits bare skin. But the head is not the only source of heat loss. Your torso, legs, and hands shed warmth too, so a hat alone won’t fix a cold body. Treat your hat and neck layer as part of the whole system. A fleece neck gaiter or balaclava is an easy add-on. Pull it up in gusts and drop it when you start climbing.
Hypothermia is the sneaky one. The National Weather Service defines hypothermia as a body temperature below 95°F. It can happen at air temperatures as warm as 60°F, especially if you’re wet, tired, or sitting still. Early signs include shivering, clumsy hands, and confusion. If someone stops shivering while they’re cold, treat it as an emergency.
Across the United States, 1,024 deaths were attributed to excessive cold or hypothermia in 2023. January accounted for the largest monthly share, at 19.9%. Cold danger isn’t limited to people stuck in storms.
Frostbite hits the exposed parts first. Watch your fingers, toes, ears, nose, and cheeks. Warning signs include:
- Skin that feels numb or prickly, then stops feeling much at all
- Skin that turns white, gray, or waxy
- Skin that feels hard or firm when you touch it
If you spot these signs, get out of the wind first. Warm the area gradually, using body heat or lukewarm water, not hot water or a fire. Never rub the skin, because rubbing can damage tissue. If the skin stays numb after you’ve warmed it, get medical help right away.
Don’t wait to warm up. Shivering, stumbling, or losing feeling in your fingers means your layers have stopped doing their job. Add a layer, get moving, and head for shelter before the problem grows.
Do Clothing Temperature Ratings Mean Anything?
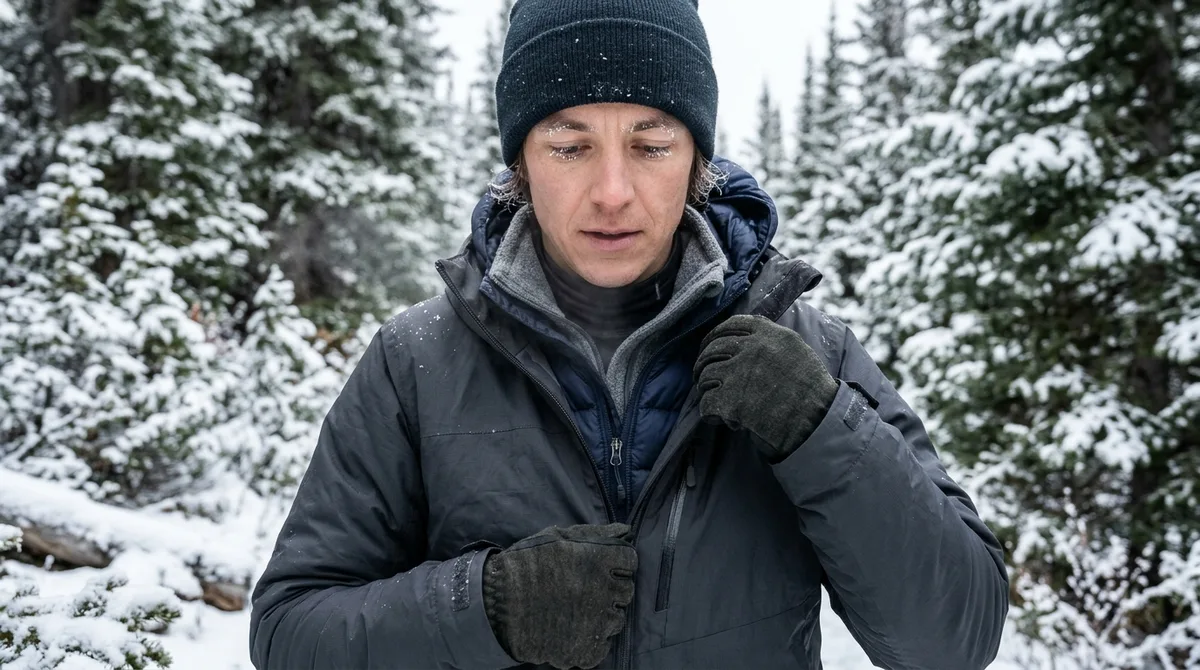
Not much, unless you know how the number was produced. A temperature rating is only as good as the test behind it, and most shoppers never see that test.
The standard many serious brands point to is ASTM F2732-23. It uses a heated mannequin to measure how much insulation a clothing ensemble provides, then runs a [heat-loss model](https://store.astm.org/standards/f2732) to estimate a comfort temperature. Here’s the catch. Those ratings are guidelines, not guarantees, and the method is built for adults. A mannequin standing still in a lab is not you climbing a ridge with a loaded pack.
Real comfort depends on three things the tag can’t control. Wind strips heat from every layer you wear. Moisture from sweat or rain turns insulation into a cold, heavy wrap. Activity level decides how much heat your body makes in the first place. A jacket that feels toasty while you wait at the trailhead can leave you chilled after a long stretch of wet, windy, hard effort.
If you work outdoors, the number on the tag matters even less to your wallet. Under [federal OSHA rules](https://www.osha.gov/laws-regs/regulations/standardnumber/1910/1910.132), employers are not required to pay for ordinary clothing used solely for weather protection, including winter coats, gloves, hats, and raincoats. So if your boss says the crew needs cold-weather gear, don’t assume the company will foot the bill.
Ask what the employer provides before your first cold shift. Get the answer in writing if you can. Then track what you spend on the rest, because those receipts add up fast.
So how do you read the marketing? Treat any big temperature number as a sales pitch until you know the test. Ask whether it came from a mannequin, what layers it assumed, and what conditions it covers. If the brand can’t answer those questions, the number is just bold type on a hangtag.
Build Your First Cold Weather Layering Kit Step by Step
Money tight? Build your kit in this order, and don’t move to the next item until the one before it is covered.
- Buy one base layer you can wear for every cold activity. Choose merino or synthetic, fit it snugly, and skip anything that’s mostly cotton.
- Add one mid-layer that matches how hard you usually move. Fleece suits steady walkers, while synthetic insulation suits sweaty climbs and damp days.
- Get a shell that blocks your local weather. Pick waterproof if rain or wet snow is common where you live, or windproof if your cold is dry and gusty.
- Add a warm hat, a pair of mittens, and two or three pairs of wool or synthetic socks.
- Pack a sealed dry backup set in a waterproof bag, and keep it in your car or pack for the drive home.
Sale tags can save you real money, so check the sale section before you pay full price. Retailers often mark down last season’s fleece and rain jackets, and a fair deal on the right fabric beats a bargain on the wrong one. Read the fabric content on the tag and compare it to the activity you actually plan to do.
Then test the kit on a short, easy walk before your big trip. Note where you get clammy, where you start to shiver, and which layer you wished you had. That honest feedback tells you exactly what to buy next.
Test Your Kit Before the Big Trip
Your next step is to lay everything out on your bed this week and check it against the list. Pull the tags on your base layer and mid-layer, and confirm the base layer is not mostly cotton. Then check your shell for pit zips, because a jacket without vents turns into a sauna by the first steep hill.
Next, wait for a cold day you can plan around. A Freeze Watch from the National Weather Service signals the potential for significant, widespread freezing temperatures within the next 24 to 36 hours. That’s your cue to test the kit on a short walk close to home, where you can turn back fast if something feels off.
On that walk, do three things. Start a little chilly. Vent at the first hill. Then note exactly when you get clammy and when you start to shiver, and write those moments down on your phone.
Use those notes to decide what to fix. If you got clammy, your base layer or shell is the likely culprit. If you shivered at every stop, look at your mid-layer or your hat and neck protection. Buy one item at a time, and keep that sealed dry set in your car before you head out on anything longer.
Frequently Asked Questions
1. How do I wash merino base layers without ruining them?
Wash merino base layers in cold water on a gentle or wool cycle, using a mild detergent made for wool. Skip fabric softener and bleach, since they coat the fibers and wear down the fabric’s natural stretch. Lay the layer flat to dry, away from radiators and dryers, because heat is the fastest way to shrink merino.
2. Do heated gloves or hand warmers make layering unnecessary?
No. Heated gloves and hand warmers add heat to your fingers, but they can’t replace the layers protecting your core. When your torso cools, your body pulls blood away from your hands and feet to protect vital organs, so your fingers can still go numb even with a warm battery. Think of heated accessories as a bonus on top of a solid layering system.
3. What should I do if my feet stay cold even in insulated boots?
Start by checking the fit, because boots that squeeze your feet restrict blood flow and leave your toes colder. Try wearing a single pair of wool or synthetic socks instead of stacking thick cotton pairs, which trap sweat against your skin. If your feet still freeze, your core may be the problem, so add a layer to your torso and keep moving to get warm blood flowing again.
4. Can I wear jeans as a layer for cold weather?
Jeans are a poor choice for cold weather layering because denim is mostly cotton. Cotton soaks up sweat and stays wet against your skin, which pulls heat away from your body. Save your jeans for dry, mild days, and use wool or synthetic layers for anything you’ll sweat in.